
Most of the items for this awesome DIY Kitchen Science Kit are probably already in your house!
Your children will enjoy many happy hours of scientific play with this kit.
We've had our kit for a few years and it's still popular with my 9-year-old. It's suitable for preschool and up.
Some of these items are only to be used under supervision. If I have younger children over to play I only put out the edible items.
Here are some concepts that kids can explore with this kit:
- Chemical changes (making slimes... explosions...)
- Acidity and alkalinity
- Starch content
- Density of different liquids
The whole point of this kit is to allow kids to be as independent as possible, and to encourage them to see themselves as scientists.
The only intervention I ever give is to guide them in asking good questions. Sometimes I also give them some perishable items, like milk, apple and potato slices, or celery sticks.
If you want to leave this kit in a prominent place for your kids to discover, or even set up a permanent science zone in your house, I've got a free printable for that! (No butterflies were harmed in the making of this sign.)

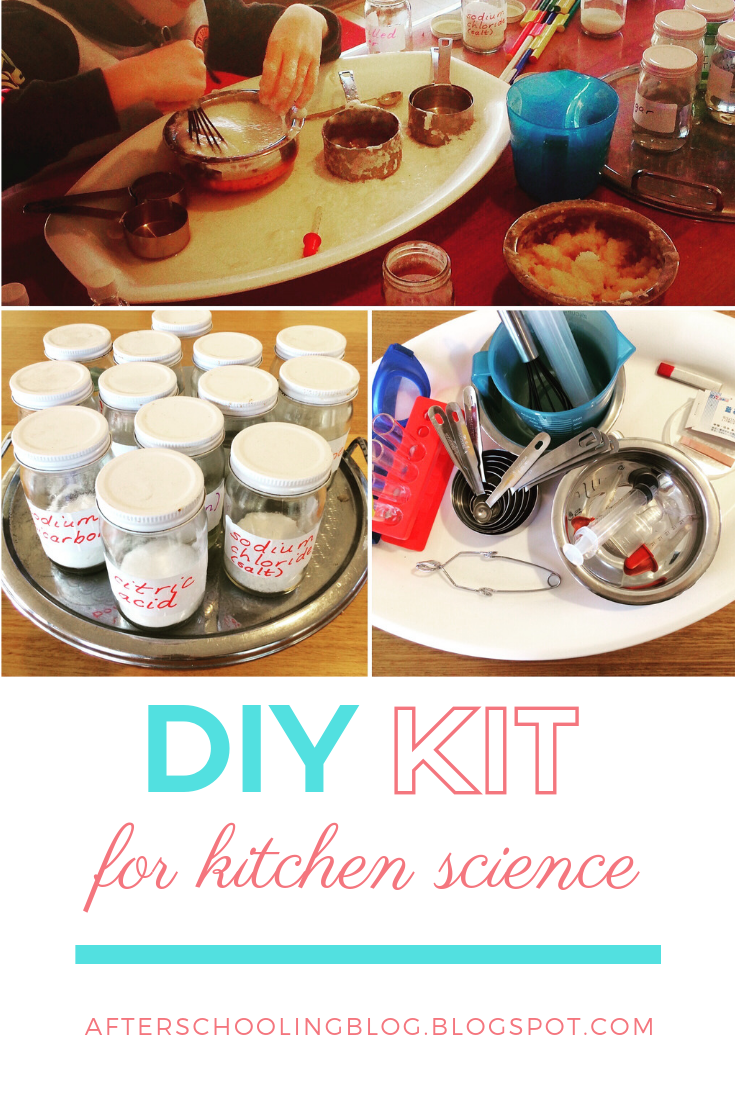
The DIY Kitchen Science Kit has two parts; the substances and the equipment.
1. The substances

I think I got my jars from the thrift store, but I've seen them in Kmart in the scrapbooking section (here).
I made sure to write DO NOT EAT on inedible items: This site explains how to label and store chemicals safely. Kids should never be left alone with those items, even if they're old enough to know not to eat experiments. Err on the safe side!
Ingredients to fill the jars:
- Sodium bicarbonate
- Citric acid
- Corn oil
- Sodium chloride (salt)
- Sugar
- Vinegar
- Gelatin
- Cornflour
- Distilled water
- Food colouring mini bottles
- Glucose syrup
- Dish liquid - DO NOT EAT - both Fairy and Earth are good because each works better in certain situations (for example the reaction from detergent and salt works much better with Earth)
- Alka-Selzer tablets DO NOT EAT
- Iodine DO NOT EAT
I also had some surplus bottles of banana, peppermint, rosewater and pandan essences so I added those for some super-aromatic fun!
2. Equipment
We started out with just a few kitchen implements, but have gradually expanded. You don't really need much.
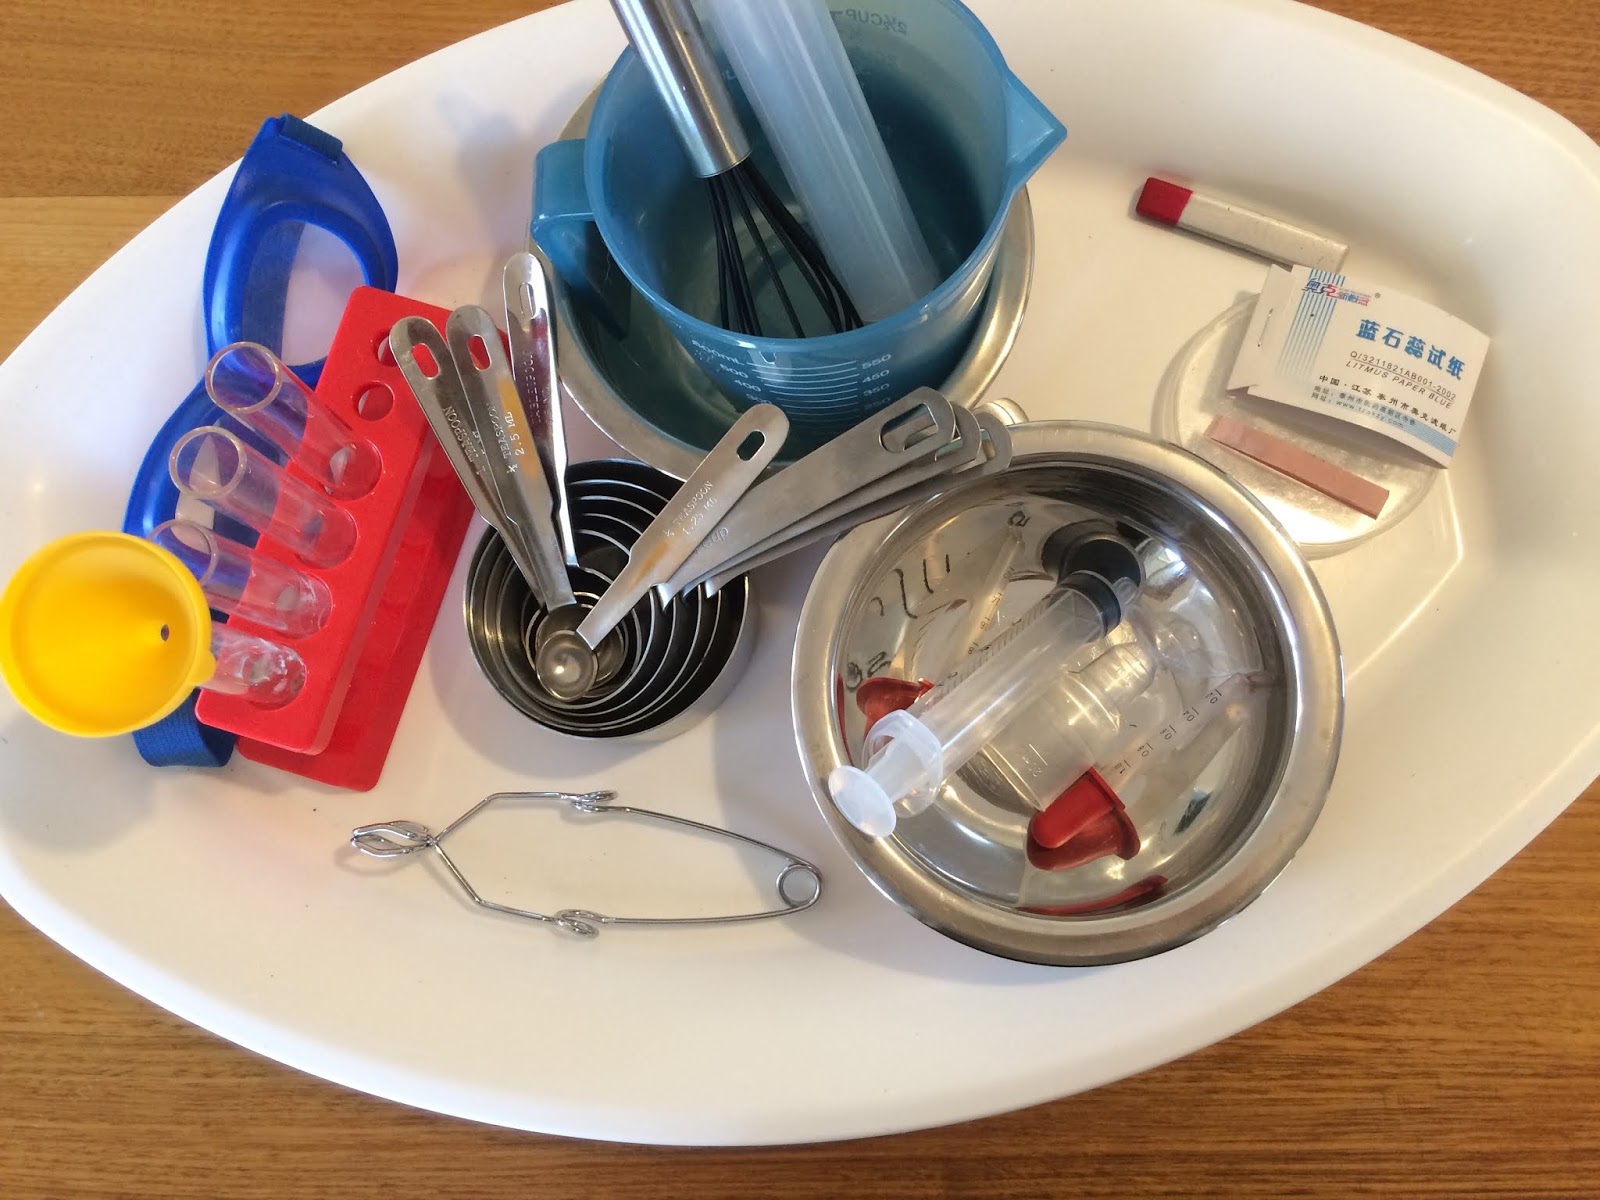
- Clipboard and pencil for recording experiments
- A couple of mixing bowls
- Whisk
- Measuring cups and spoons
- Old medicine droppers and syringes
- Blue and red litmus papers
- Measuring jug
- Goggles and lab coat - these instil good habits around lab safety and help fire up the imagination!
- Nitrile gloves (iodine and food colouring stain hands)
- Tray
- Plastic table cover, and one for the floor if you need it - this is optional but it certainly makes clean-up easier... Science in our house can get MESSY! We got ours from PJ's.
I ended up adding some test tubes, but you really don't need them.
Here's Roo investigating:

So that's a round-up of the substances and equipment in this awesome DIY Kitchen Science Kit.
I hope you get as many hours of fun out of it as we have!
Is there anything else you'd add? I'd love to know in the comments!
Thanks for reading. Interested in kitchen chemistry? Try our Harry Potter Invitation or Sweet and Fat: 4 Easy Inquiries.
No comments:
Post a Comment